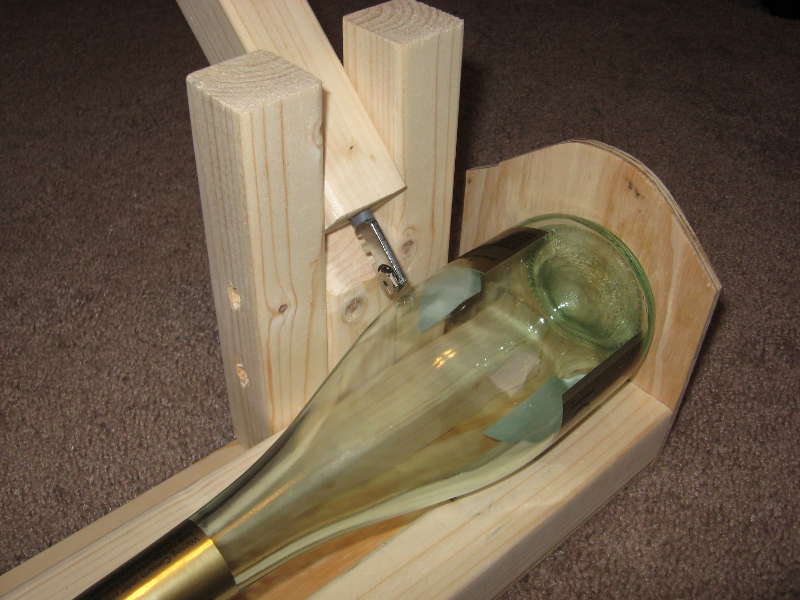
So over the last few months, I've ideas of how to improve the results simmering on my mind. The result is a nifty cutting jig I threw together this weekend:


The idea is simple: a couple of boards to hold the bottle while we rotate it, and a backstop to keep the bottle from sliding back and forth. The glass-scoring tool is seated in a wood block so it's easier to apply pressure.
My favorite part is the peg and hole system I used to allow the tool to cut the bottles at varying heights. The holder / guide for the cutting tool has two pegs at the bottom which pair up with numerous holes along the length of the guide-rail.


Tools needed:
- Jigsaw
- Mitre Saw
- Sander
- Power screwdriver / drill
Total cost:
- $7 (Another furring strip and some longer screws.)
EDIT: Here's a schematic of the jig with sizes. The base and backing is 1/4 inch plywood, and the square wood pieces are furring strips. Be sure to take all safety precautions when working with wood, glass, and fire. Click for a larger size.

are the plans available?
ReplyDeleteWow I need to check this a bit more frequently. Sorry for not getting back to you sooner.
ReplyDeleteAnyway, I made this off the cuff using parts I had available. I'll put together a schematic and append it to the post soon.
Alright, schematics up, I hope it works out for you, let me know if you have any more questions.
ReplyDeleteBrilliant!! I love it, and thanks for sharing. I have also tried several ways in the past i.e. heated steel rod in old motor oil, glass cutter etc. but this device is nifty.
ReplyDeleteCould you please elaborate on the heat-shocking process?
Regards
Socrates,
DeleteThe basic idea is that glass cracks when it's subjected to a rapid change in temperature. Usually this is done by heating up the glass then exposing it to cold water. You can find various alterations on this technique, here are a few;
https://www.youtube.com/watch?v=sMalEDVjJpc
https://www.youtube.com/watch?v=K7_EwIPtRVg
Hey mad scientist, now the last step: sanding down the rough edge. I just launched a kickstarter campaign for the Bottle Bit. It makes that last step a snap.
ReplyDeletehttps://www.kickstarter.com/projects/582093084/the-bottle-bit
Neat idea. I've taken to using a sanding drum on the mill to do the hard work. I imagine the mass and inertia of larger bottles might be a problem, how does it handle those?
Delete